DIY – Make your own concrete flowerpot
Concrete is a versatile material that can be used to create amazing things. In this DIY project, we'll show you how to make your own concrete flowerpot. All you have to do is decide whether to give the flowerpot as a gift or keep it for yourself!
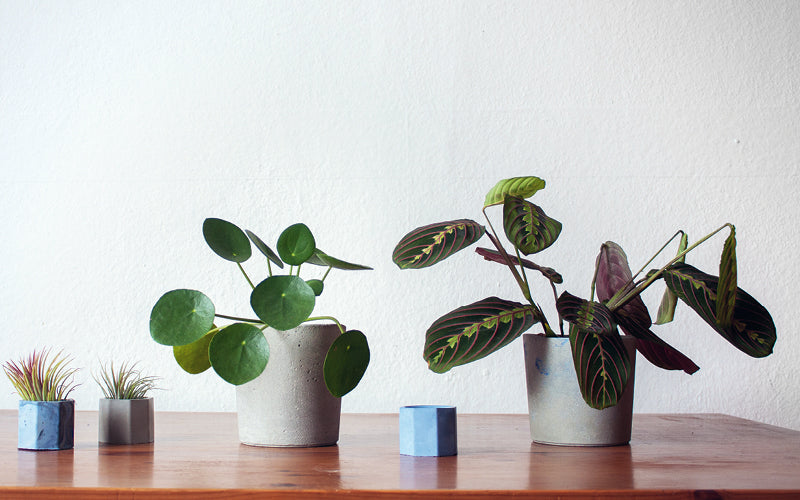
DIY – Concrete flowerpot
We need this
Casting molds, small and large
Gloves
Bowl for mixing
spatula
Paint brush
sandpaper
Concrete powder, craft concrete
Vegetable-based oil
Water
small and large stones for weighting
Paint for decoration
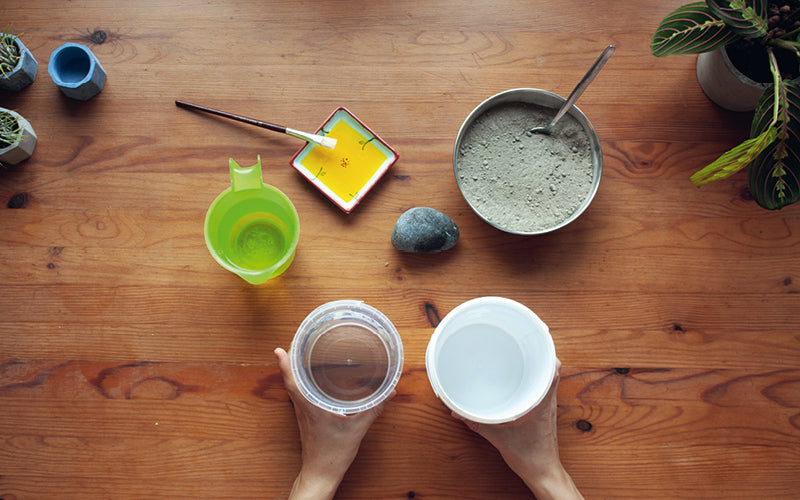
How it works
Choose two molds—one large and one small. The concrete will later be poured into the space between them. The small mold represents the interior of your planter, i.e., the volume that will later be filled by the plant's root ball.
The material should not be too rigid so that the solid concrete can be easily removed later.
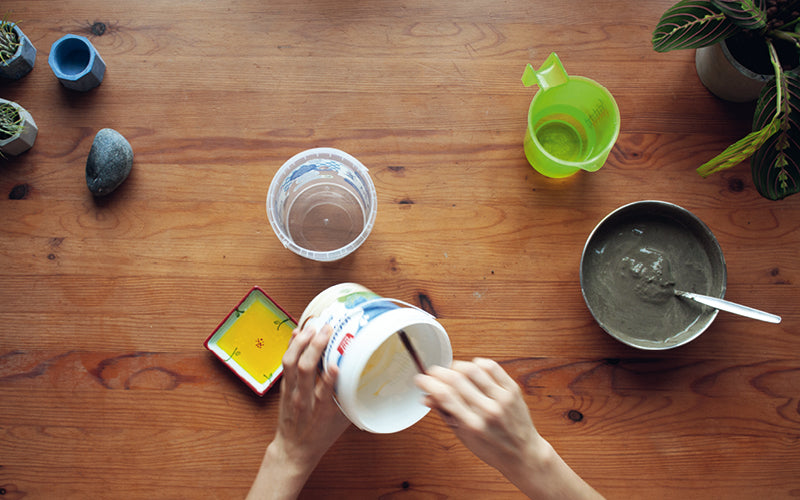
Now put on your gloves. Mix the concrete with water according to the instructions on the container. You'll need enough of the mixture to fill the larger of your mold containers at least halfway with concrete. Then let the concrete stand for a moment.
Meanwhile, use a brush and oil to coat your molds: you only need to paint the inside of the outer mold and the outside of the inner mold.
Use the spatula to pour the concrete mix into your large mold, filling it no more than two-thirds full. Gently tap the mold on the table several times to release any air and distribute the concrete evenly.
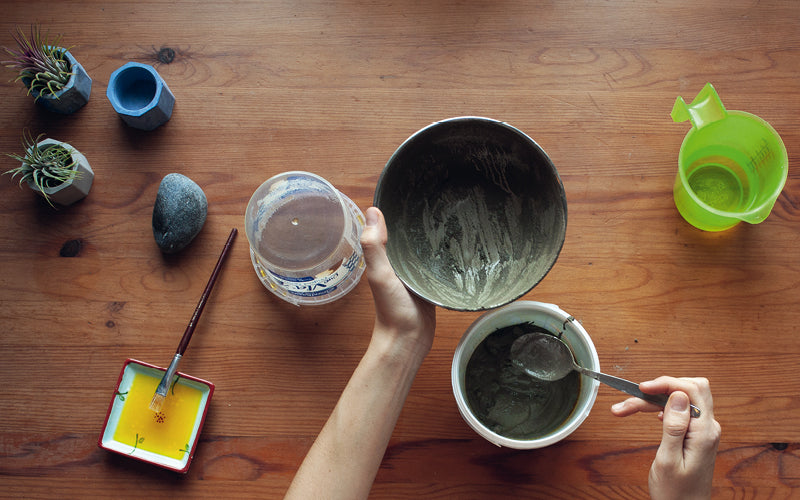
Then press the small mold into the center of the concrete. It needs to be slightly spaced from the outer mold so that the bottom of the pot doesn't become too thin. Also, make sure it's evenly spaced from the side walls.
If the small mold is too light, fill it with the stones. Now your concrete needs to harden. This can take two to five days.
Once the concrete is dry, you can carefully remove the smaller mold from the recess. Then carefully turn the larger mold over and remove the remaining concrete pot. The basic structure of your homemade concrete planter is now complete! You can still smooth out any minor imperfections on the surface with sandpaper.
If you like, you can decorate your concrete container with paint.
Have fun being creative!
By the way
Patience is required when allowing it to harden.
To do this, place the concrete in a place with normal temperature and not directly on the heater – it might go faster there, but the high temperature could cause the concrete to crack.
← vorheriger Post: Make your own plant labels

The content of this article is from the book:
My Advent Calendar Book: Garden Love
24 surprising projects & information for garden ladies and plant lovers
ISBN: 978-3-7459-0748-3
Price: 12.99 €
EMF Publishing
24 Times Garden Love! This book, an Advent calendar for all plant lovers, offers inspiration for creative Christmas gifts from your own garden. 24 DIY projects, large and small, are waiting to be discovered to help you stay active and green throughout the Christmas season – so your green thumb doesn't have to take a winter break!


